Users
The 'Users' page shows all users in your VAP service.
The 'Users' page shows all users in your VAP service.
To sort and filter
You can sort the User Name and Email columns alphabetically. To sort a column, select the column header.
To filter users:
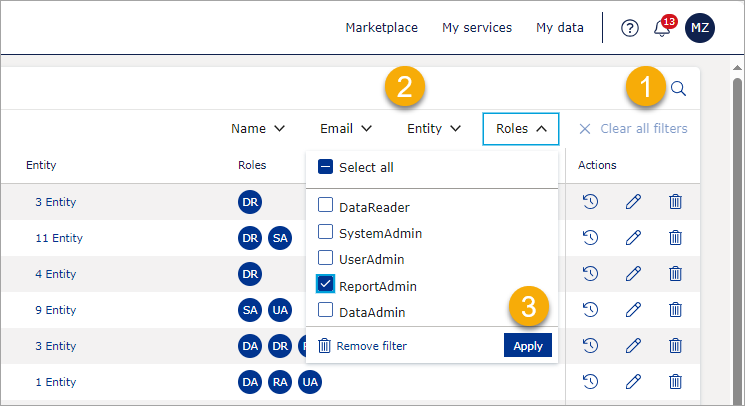
- In the right corner, select the search icon. The following filter options will show below the search icon: Name, Email, Entity, Roles, and Clear all filters.
- To apply a filter, select its name.
- Enter or select a value by which you want to filter, and select the Apply button. You can apply multiple filters.
To remove a filter:
- Select the name of the filter.
- Select the garbage can icon labeled Remove filter.
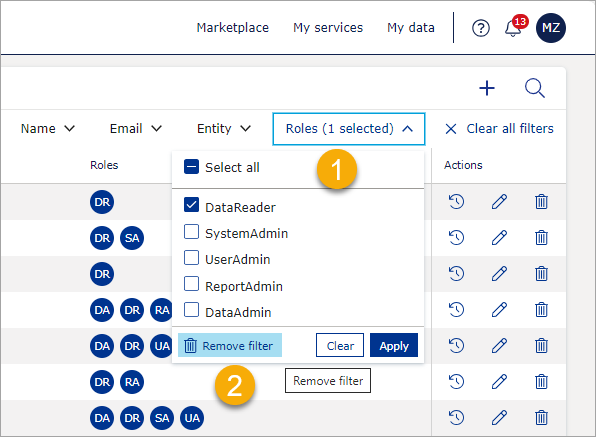
To remove all filters, select Clear all filters.

To hide the filters, select the search icon.
To add a user
To add a user to an entity:
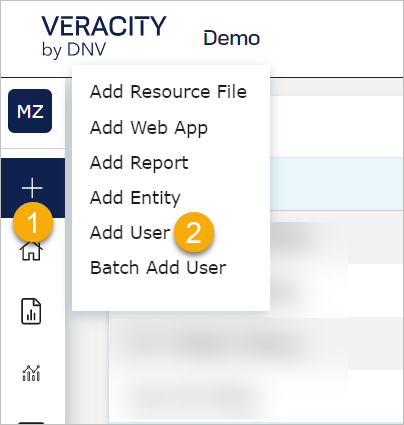
- In the top right corner, select the plus icon. Alternatively, from the left sidebar, select the plus icon and Add User.
- Enter the user's email address or their unique Veracity ID, and select the Check button. If the email address is found continue to step 3. If the email is not associated with a Veracity account, you have two options:
- First option is to continue by clicking OK on the message and adding the First and Last name of the user. Then, continue to step 3. The newly created user will recive an e-mail from Veracity Identity asking to compleet the registration and provide pasword, location, and more. When they complete registration, they can see the service on Veracity My services page.
- Second option is to contact the user and ask them to create an account on https://id.veracity.com/sign-up. Once they have created an account, you can add them to your VAP service.
- Under Entity List, select the entity (entities) to which you want to add the user and confirm with the Add to Entity List button.
- Under Roles, select one or more roles for the user. Each role gives different kinds of permissions in your VAP.
- Optionally, select Send notification to this user if you want to notify the user that they have been added to an entity in VAP.
- To confirm adding the user, select the Add button.
Note that if you try added a new user in section two above, this user is marked with a small "i" icon. Informing you that the user has not compleeted registration. That has to be done before user can interact with reports. When compleeted the "i" icon is removed.
To batch add users
In one batch, you can import up to 200 users.
To batch-add users to an entity:
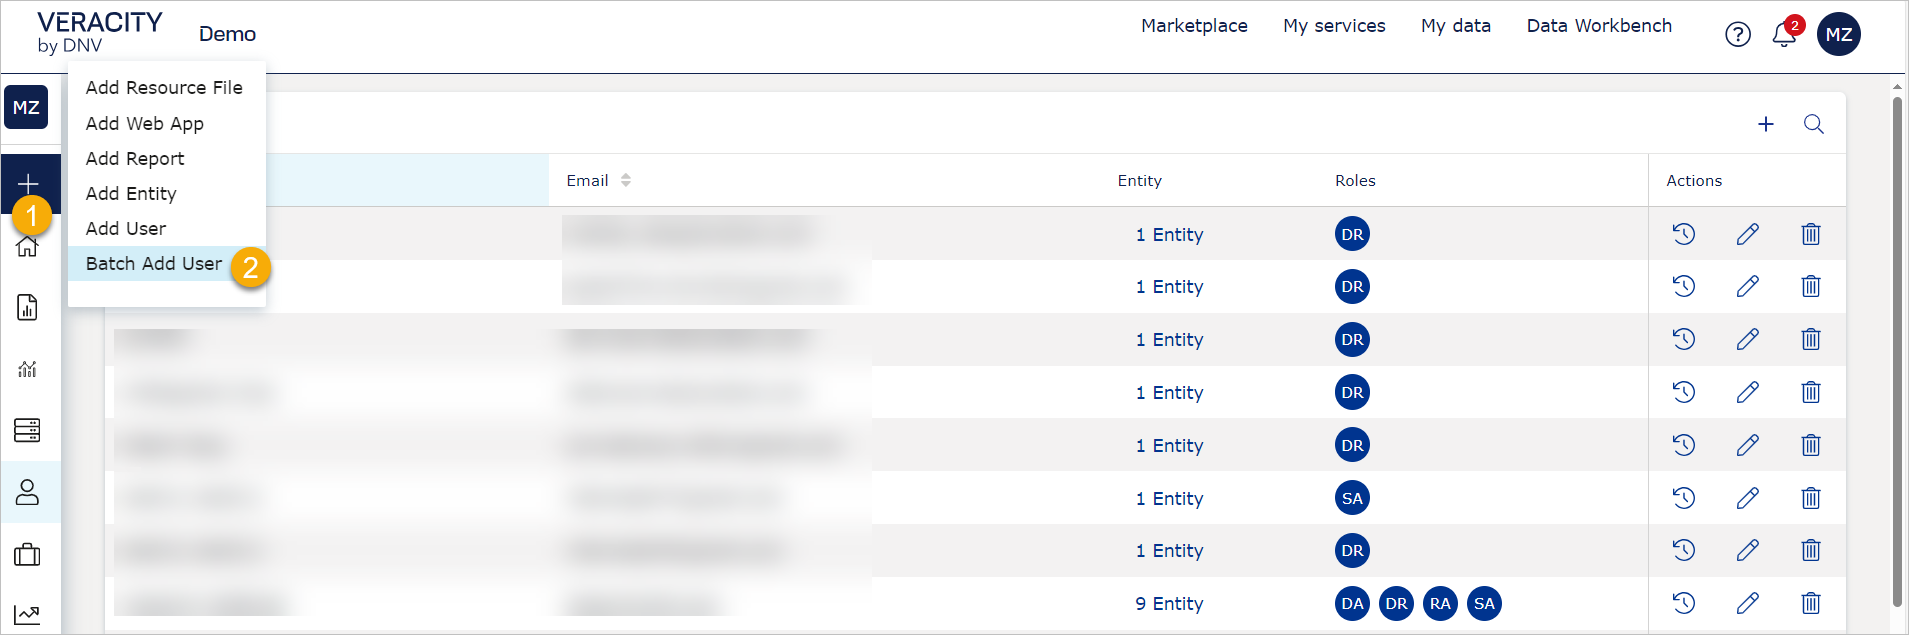
- From the left sidebar, select the plus icon and Batch Add User. Alternatively, on the Users page, select the plus icon in the top right corner and then Batch Add User.
- Under User Excel File for Batch Add, drag and drop the CSV file from your local machine onto Drop file here, or click to upload or select Drop file here or click to upload to add a CSV file from your local machine. In this section, you can also find a template for the file (see the text 'Click here to download the template file').
- Under Entity List, select the entity (entities) to which you want to add the users and confirm with Add to Entity List.
- Under Roles, select one or more roles for the users. Each role gives different kinds of permissions in your VAP.
- Optionally, select Send notification to this user if you want to notify the users that they have been added to an entity in VAP.
- To confirm adding the users, select the Add button.
Note that if you try to add an already existing user, their data (role, entity) will get updated instead.
Note that you can check the status of batch-adding users in the Background Jobs.
To edit user
To edit a user:
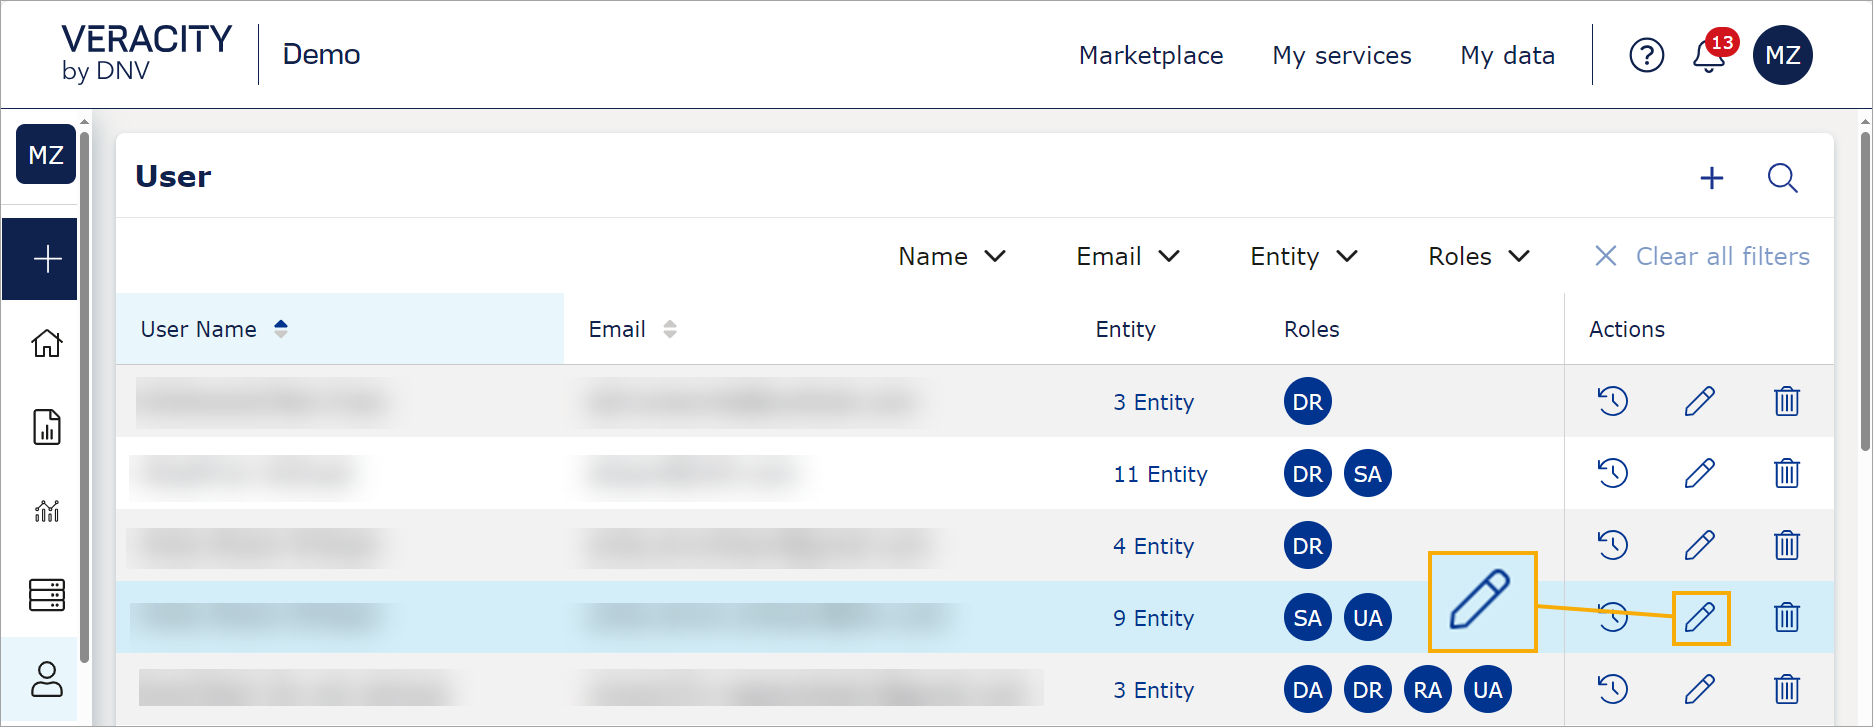
- In the row with the user's name, in the Actions column, select the edit (pencil) icon.
- Edit the user. You can change the entities they have access to and their roles and notify them about the changes. You cannot change the user email or ID because they come from the user's Veracity account.
- To confirm the changes, select the Save button.
To delete a user
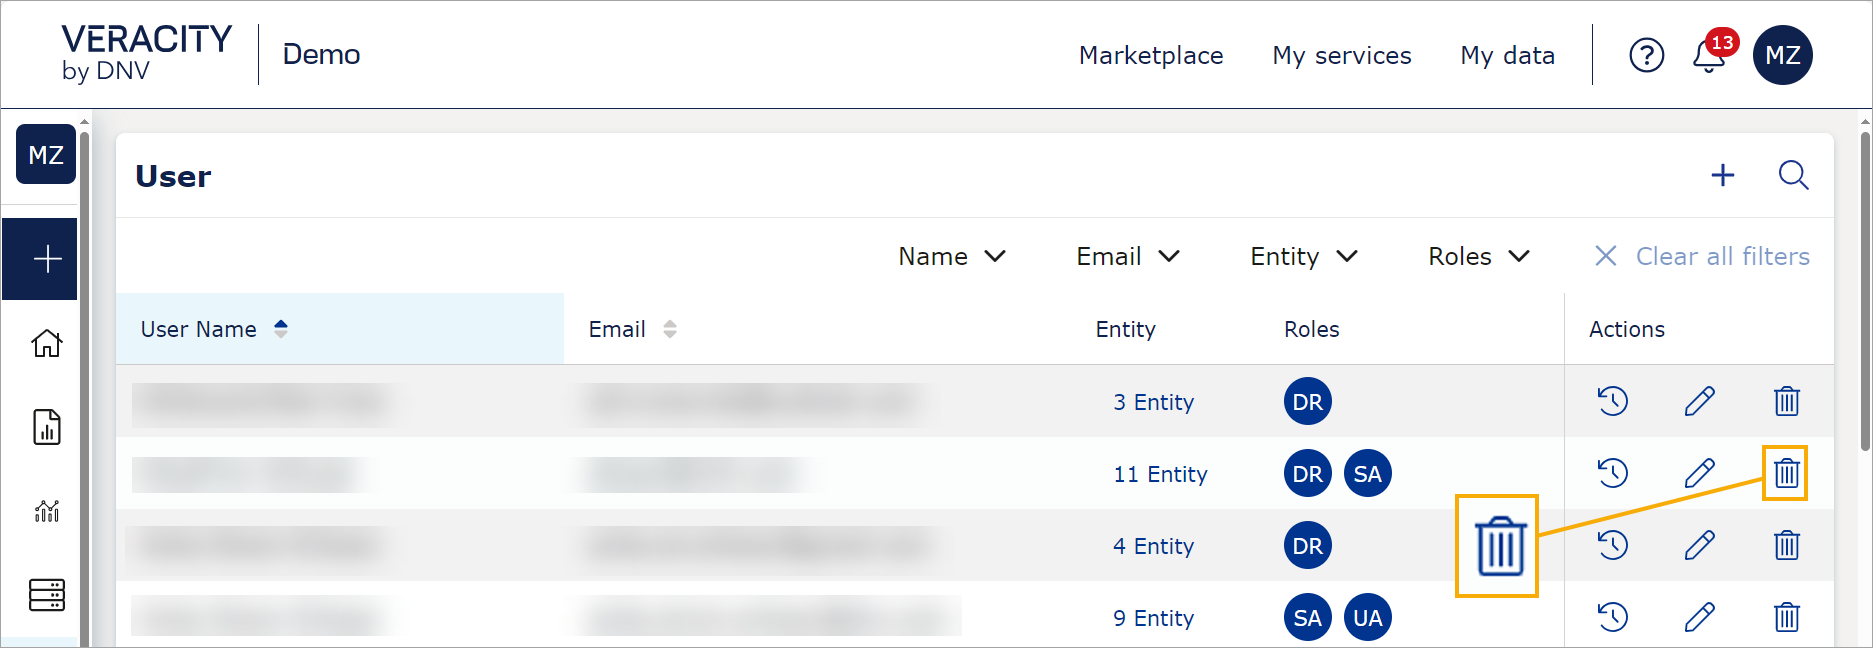
- In the row with the user's name, in the Actions column, select the garbage can icon.
- To confirm, select the Delete button.
To see statistics for a user
The Interactions (1Y) column displays the number of interactions each user has had with the VAP instance in the past year. Note that this column is not sortable.
To view details, select View History from the "Actions" column for the desired user.
 The View History window is divided into two tabs: Admin Operate History and User Visit History.
The Admin Operate History tab shows information about user role upgrades and downgrades:
- Under Operate user, see who upgraded or downgraded a user role.
- Under Description, see the names of new and old user roles.
- Under Date time, see when the user role was changed.
The User Visit History tab shows what entities the user has interacted with and when.